
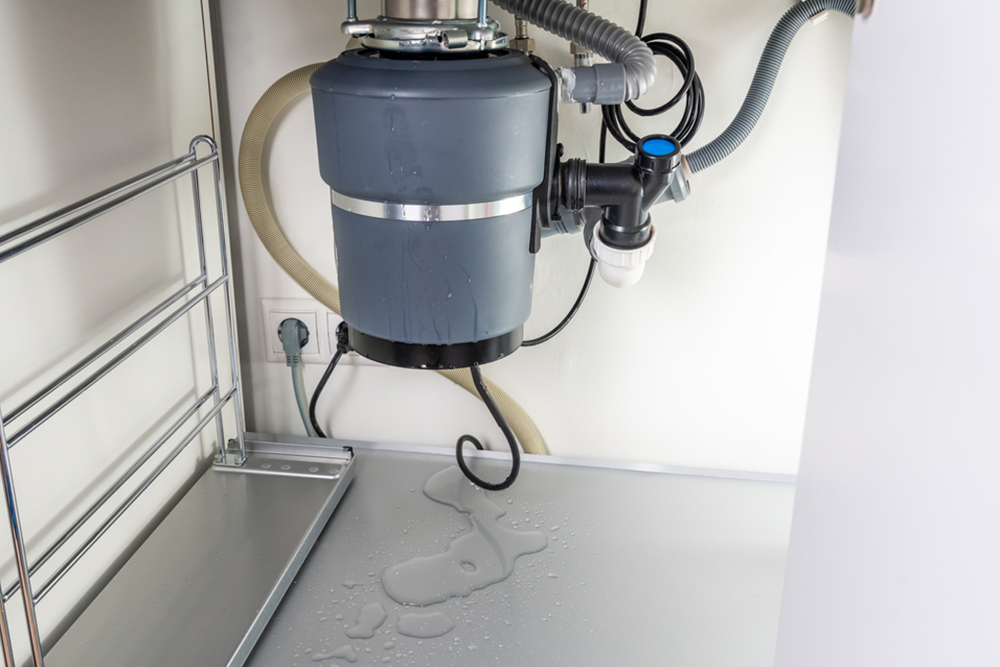
Garbage disposals are designed to grind up a lot of different things. But some of those materials, like fats, oils and grease, can cause clogs that will eventually lead to the leaks you are seeing.
To get your disposal working properly again, begin by unplugging it and putting a bucket under it. Then, use food coloring to locate the leaks and start making repairs.
Leaking from the Sink Flange
If the water is dripping from the top of your disposal, it’s likely that the sink flange or seal has been damaged. Luckily, this is the easiest and cheapest place to start fixing your garbage disposal leak. But you will still need professional plumbing help from leaks of this kind. For help with leak detection in Melbourne, find reputable companies that have experience and knowledge in this field.
Often, these seals degrade over time from basic wear and tear. However, they may also be loose from improper installation or a hard hit from something being thrown into the disposal. A little bit of plumber’s putty or a new flange can often fix this problem.
Before attempting to fix this, make sure that the power is completely off and that you have a bucket or bowl under your disposal to catch any water or food that might spill out during the repair process. You should also unplug the disposal and drain the sink. Remove the old flange and any preexisting plumber’s putty, then apply a fresh layer of putty to the flange and sink to reseal it.
Leaking from the Drain Pipe
A garbage disposal can eat up food scraps and other kitchen waste, helping to prevent clogs and reduce the amount of waste your home sends to landfills. However, it can also be vulnerable to damage from other sources. One of these is leaking from the disposal drain pipe. If this happens, it’s important to understand why and what you can do about it.
If a leak is coming from this area, it’s likely that the flange connecting and sealing the disposal and sink drain has degraded. In this case, it’s a simple matter of tightening the connections and adding some new plumber’s putty to reseal the area.
If the problem is more serious, it may be a sign that internal seals have worn out and you need to invest in a replacement unit. You’ll need to mop up standing water and set fans running to dry the area underneath your sink, sanitize drywall and floors and take care of any other affected areas.
Leaking from the Disposal
A disposal leak from the top is usually caused by a loose or worn flange that connects it to your sink. This is typically a quick fix, especially if you use plumber’s putty to tighten it up.
Leaks from the bottom of a disposal are usually caused by cracks in the unit’s body or seals. This is usually a sign that the disposal is reaching the end of its useful life and should be replaced soon.
If your disposal is old and you see this type of leak, it’s worth a test to determine whether the repair/replacement decision makes sense. Unplug the disposal, stop up your sink drain (if plugged), and fill the sink basin with water. This will help you to find the source of the leak more easily. It’s important to note that it may be difficult to tell the source of a leak from the sink basin, as gravity makes the water run down and make it hard to spot.
Leaking from the Electrical Connection
When a garbage disposal leaks from its connections, it can be harder to diagnose and repair. First, you need to figure out where the water is coming from. You can usually do this by unplugging the unit, stopping up the sink drain and filling the sink basin with a few inches of water. Then, watch for where the water stands longest, as that will point to the source of the problem.
You may be able to fix leaking from the top of the disposal flange (where it connects with the sink drain), or you may need to tighten or replace the dishwasher or sewer line hose connection and gasket. However, if the leak is from the bottom of the disposal, you’ll probably have to replace it. After all, the inner seals are likely worn out by now. Once you’ve made the necessary repairs, mop up any standing water and use fans to circulate air in your kitchen for a few days to dry it out.
*
Be the first to comment.